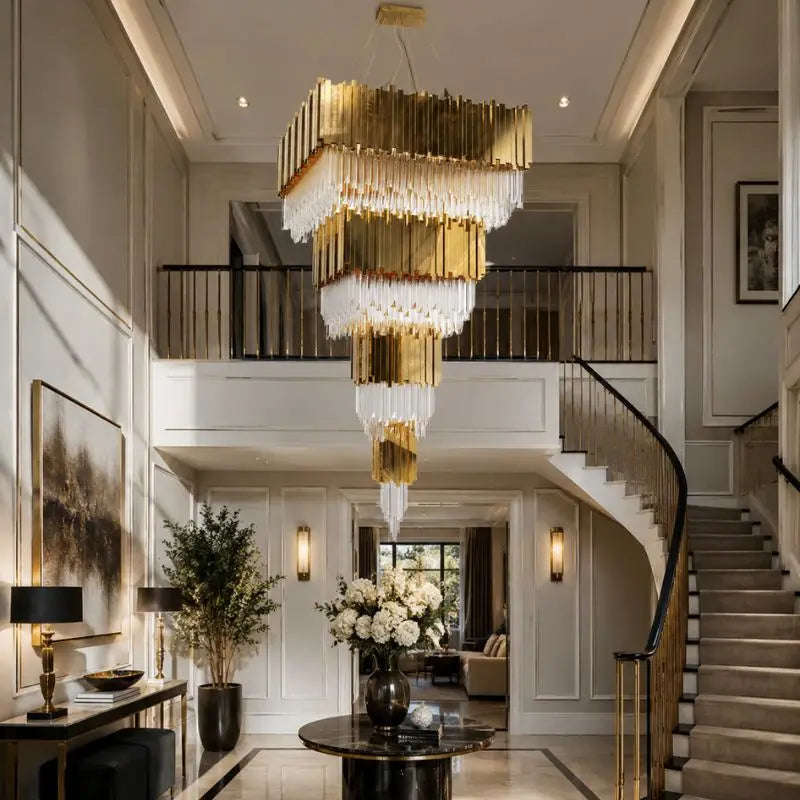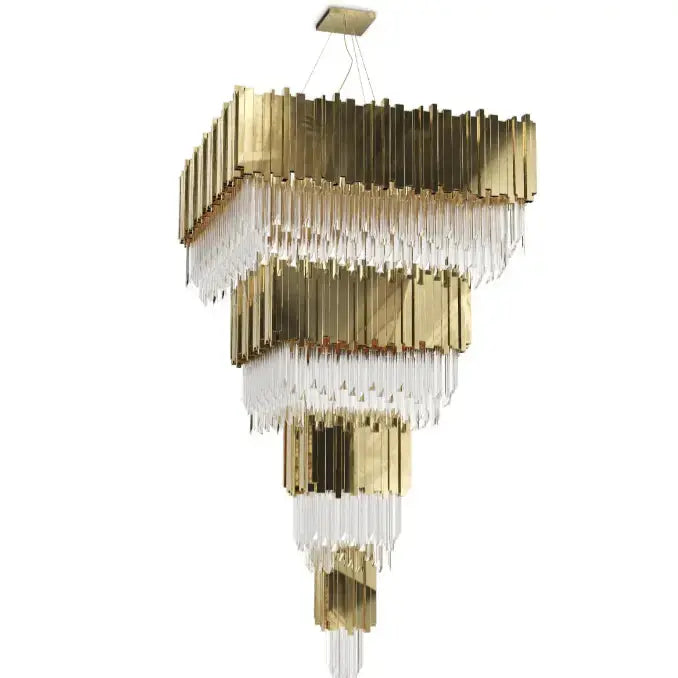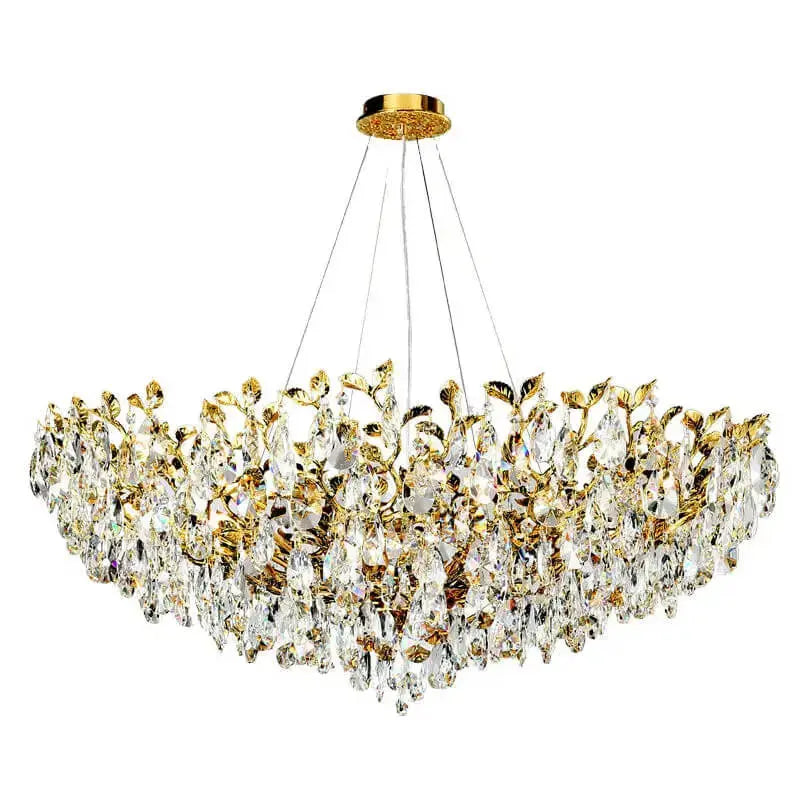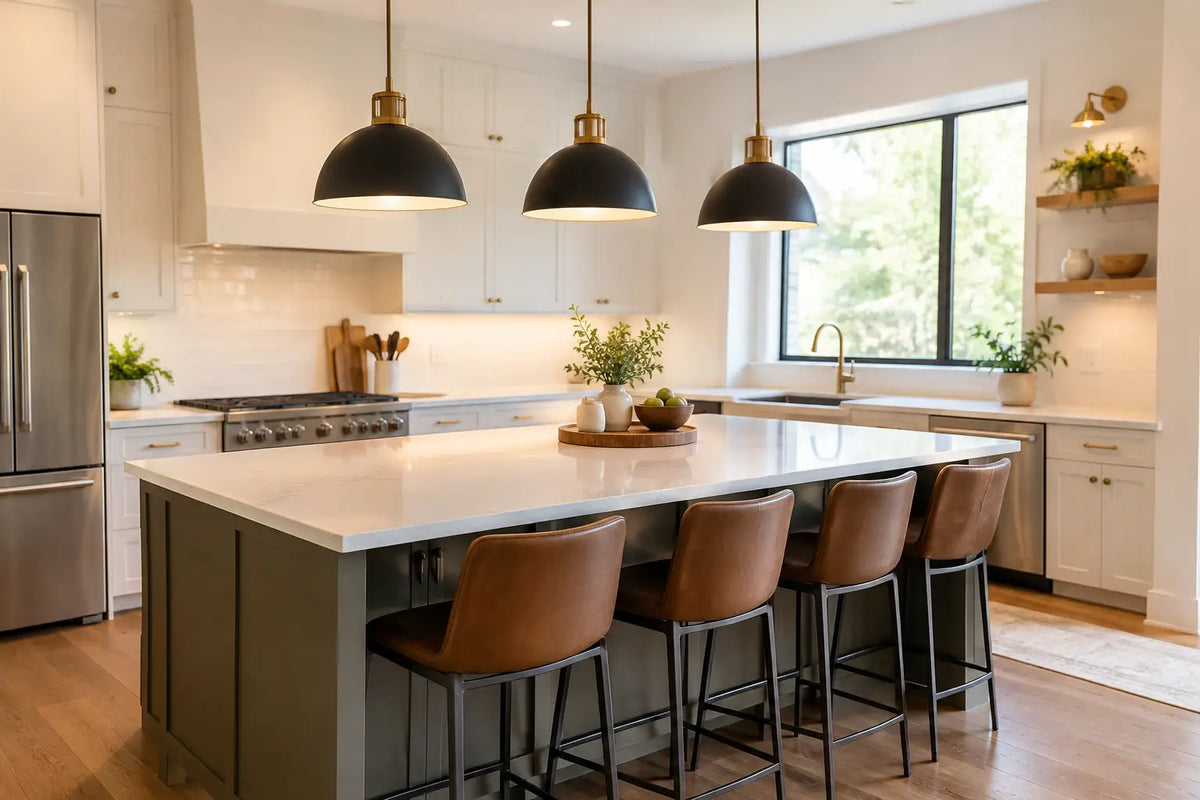
A kitchen island is where morning coffee is poured, homework spreads out and guests naturally gather before dinner. Learning how to light kitchen island surfaces well is therefore about more than choosing a beautiful pendant. The fixture must flatter the room, make food preparation comfortable and create an inviting glow once the worktops are cleared.
The most successful schemes layer decorative lighting with practical illumination. Start with the island’s proportions and purpose, then choose fittings that feel considered from every angle. A sculptural chandelier, a row of refined pendants or a softly glowing linear fixture can turn an everyday kitchen into a more elevated living space.
How to light kitchen island areas with purpose
Before looking at finishes, decide what the island needs to do. An island used chiefly for chopping, cooking and family meals needs clearer, more focused light than one designed as a drinks station or occasional breakfast bar. Many kitchens need both, which is why dimmable lighting is such a valuable choice.
Think in layers. The island fixture provides decorative focus and task illumination, while recessed ceiling lights, wall lights and under-cabinet lighting fill in shadows around the rest of the kitchen. Relying on a single pendant or chandelier can create dramatic contrast, but it may leave the hob-side worktop or sink area too dim for daily use.
For a polished result, put the island lights on their own dimmer circuit. At full brightness, they support preparation and serving. Lowered in the evening, they bring a warmer, more intimate atmosphere to open-plan kitchens without making the whole room feel overlit.
Get the hanging height right
Height is the detail that makes a fixture look intentional rather than awkward. As a reliable starting point, hang pendants or a linear chandelier around 76 to 91 cm above the island worktop. This typically puts the bottom of the fitting high enough to preserve sightlines, while allowing the light to feel connected to the island below.
The final position depends on ceiling height and fixture scale. In a kitchen with standard ceilings, a compact pendant should not hang so low that it interrupts conversation or blocks the view into the adjoining room. In a tall kitchen, a longer drop can bring visual warmth to an otherwise empty vertical space.
There are a few practical checks worth making before installation. Stand at the island and look across the kitchen. Sit on each stool if the island has seating. Open nearby cupboard doors. The fitting should not obstruct movement, cast a harsh shadow over a key workspace or sit within easy reach of someone standing up from a stool.
If your chosen piece has a large glass shade, crystal elements or a substantial alabaster form, its visual weight matters as much as its measured size. A generous fixture may need slightly more breathing room above the worktop to retain its elegance.
Consider the ceiling before committing
Sloped, vaulted and very high ceilings can change the specification. Adjustable suspension cables offer flexibility, while a canopy designed for an angled ceiling helps the fitting hang correctly. For heavier chandeliers, ensure the electrical box and ceiling structure can support the weight. A qualified electrician can advise on safe fitting, wiring and dimmer compatibility before the final installation.
Choose the right size and number of fittings
The island should lead the composition, not disappear beneath an undersized fixture or compete with an overly busy arrangement. As a broad guide, leave at least 15 to 30 cm clear from each end of the island to the outer edge of the lighting arrangement. This keeps the design centred and gives the countertop a balanced frame.
For a small island, one statement pendant can be exquisite. A rounded glass globe, a compact crystal form or an understated alabaster pendant delivers a focal point without visual clutter. Over a longer island, two or three pendants often look more proportional and distribute light more evenly.
Spacing matters just as much as the number of lights. Place pendant centres roughly 61 to 76 cm apart, adjusting for the width of each shade. Wide pendants need more room so they do not visually overlap. Narrower forms can be grouped more closely for a tailored, architectural effect.
A linear chandelier is an excellent alternative for a long rectangular island. It offers a single, composed silhouette and can feel particularly sophisticated above natural stone, rich timber or a waterfall-edge worktop. Choose a design that is noticeably narrower than the island itself, rather than one that stretches from end to end.
Select brightness that works from breakfast to entertaining
Beautiful fixtures still need the right output. As a general planning range, aim for approximately 300 to 400 lumens per square metre across the kitchen, then layer brighter task light where food is prepared. The island lights contribute to that total, but they do not need to carry it alone.
For exposed bulbs, consider both their appearance and their glare. A high-lumen clear bulb can be uncomfortable at eye level, especially over seating. Frosted bulbs, shaded pendants and diffused LED fittings soften the effect while maintaining useful illumination.
Colour temperature changes the mood significantly. Around 2700K creates a warm, welcoming glow that suits dining and relaxed evening use. Around 3000K offers a slightly crisper white that many homeowners prefer for contemporary kitchens and preparation zones. Keep the colour temperature consistent across visible kitchen lighting wherever possible, as mixed tones can make stone, cabinetry and metallic finishes look disconnected.
Dimming is the quiet luxury that makes a kitchen more liveable. It allows a bright working setting during the day and a low, flattering glow for drinks or supper. Check that the bulb, fitting and dimmer switch are specifically compatible, as not every LED lamp dims smoothly.
Match the fixture to the kitchen’s design language
The island light is often the jewellery of the kitchen. It can echo the room’s hardware or deliberately introduce contrast. Brushed brass pendants bring warmth to painted cabinetry and creamy veined stone. Black metal creates crisp definition in pale, modern spaces. Polished chrome and clear crystal reflect light beautifully in kitchens with cooler marble, mirrored splashbacks or sleek lacquered finishes.
Material is more than a decorative decision. Glass keeps the visual field open and is especially useful where pendants sit between the kitchen and living area. Alabaster provides a soft, luminous presence with subtle natural variation, making it ideal when you want a refined statement without sharp glare. Crystal chandeliers deliver brilliance and ceremony, but suit a kitchen best when the surrounding scheme has enough calm space for them to shine.
Do not feel obliged to match every metal exactly. A warm brass fixture can sit beautifully with black taps or nickel handles when the contrast is repeated elsewhere, perhaps in stool frames, cabinet details or accessories. The key is a deliberate palette, rather than a collection of unrelated finishes.
Avoid the common island-lighting mistakes
A fixture can be beautiful and still be wrong for the room. The most frequent mistake is choosing pendants solely by style and overlooking their diameter. Three oversized shades can overwhelm a modest island, while tiny pendants over a broad worktop can feel lost and fail to provide useful light.
Another issue is treating decorative lighting as the only kitchen lighting. Shadows are especially frustrating near the sink, hob and perimeter worktops, so retain a considered ambient and task-lighting plan. Finally, be wary of placing a dramatic fitting too low simply to make it feel more prominent. Elegance comes from proportion, clear views and a comfortable room to live in.
For a genuinely luxurious finish, view the island lighting from the adjacent dining and living spaces as well as from inside the kitchen. The right piece should illuminate the worktop beautifully, but it should also create a memorable silhouette after dark - the kind of detail that makes the whole home feel thoughtfully composed.